nginx+tomcat负载均衡集群
首先祝大家端午快乐
相信大家能来看这篇文章,说明对nginx和tomcat是有一定了解的,所以这里就不浪费大家时间了,不再过多的介绍nginx和tomcat了
大家要是不懂或者对nginx感兴趣可以去看我之前的博客。但是我对tomcat也不是很了解,但是我会在接下来的内容种尽我所能给大家讲一下tomca。
Tomcat是Apache 软件基金会的Jakarta 项目中的一个核心项目由Apache、Sun 和其他一些公司及个人共同开发而成。
由于有了Sun 的参与和支持,最新的Servlet 和JSP 规范总是能在Tomcat 中得到体现,Tomcat 5 支持最新的Servlet 2.4 和JSP 2.0 规范。
因为Tomcat 技术先进、性能稳定,而且免费,因而深受Java 爱好者的喜爱并得到了部分软件开发商的认可,成为比较流行的Web 应用服务器。
Tomcat 服务器是一个免费的开放源代码的Web 应用服务器,属于轻量级应用服务器,在中小型系统和并发访问用户不是很多的场合下被普遍使用,是开发和调试JSP 程序的首选。
Tomcat最初是由Sun的软件架构师詹姆斯·邓肯·戴维森开发的。后来他帮助将其变为开源项目,并由Sun贡献给了apache软件基金会。由于大部分开源软件项目O’Reilly都会出一本相关的书,并且将其封面设计成某个动物的素描,因此他希望将此项目以一个动物的名字命名。因此他希望这种动物能够自己照顾自己,最终他将其命名为tomcat。
O’Reilly出版的介绍Tomcat的书籍的封面也被设计成了一个公猫的形象。而tomcat的logo兼吉祥物也被设计为一只公猫。
环境说明
| 主机名 | IP地址 | 系统 | 软件版本 |
|---|---|---|---|
| nginx | 192.168.182.142 | redhat8.2 | nginx-1.20.1 |
| tomcat1 | 192.168.182.143 | redhat8.2 | tomcat-9.0.54 |
| tomcat2 | 192.168.182.144 | redhat8.2 | tomcat-9.0.54 |
环境准备
// 以下操作三台主机都要做
[root@nginx ~]# systemctl disable --now firewalld //关闭防火墙 [root@nginx ~]# systemctl status firewalld.service //确认防火墙为关闭状态 ● firewalld.service - firewalld - dynamic firewall daemon Loaded: loaded (/usr/lib/systemd/system/firewalld.service; disabled; vendor preset: enabled) Active: inactive (dead) Docs: man:firewalld(1) [root@nginx ~]# vim /etc/selinux/config //修改selinux状态 [root@nginx ~]# tail -8 /etc/selinux/config //关闭selinux SELINUX=disabled //此处为disabled即可 # SELINUXTYPE= can take one of these three values: # targeted - Targeted processes are protected, # minimum - Modification of targeted policy. Only selected processes are protected. # mls - Multi Level Security protection. SELINUXTYPE=targeted 3.1 部署nginx
// 这里我就使用脚本部署nginx,下面是脚本
[root@nginx opt]# pwd /opt [root@nginx opt]# mkdir packages [root@nginx packages]# ls nginx-1.20.1.tar.gz [root@nginx opt]# tree /opt/ //上传nginx脚本 /opt/ ├── nginx.sh └── packages └── nginx-1.20.1.tar.gz 1 directory, 2 files // 执行nginx脚本 #!/bin/bash route=/usr/local server=/usr/lib/systemd/system id nginx &>/dev/null if [ $? -ne 0 ];then useradd -r -M -s /sbin/nologin nginx fi yum -y install pcre-devel pcre gcc gcc-c++ openssl-devel zlib zlib-devel make vim wget openssl openssl-devel gd-devel mkdir /var/log/nginx chown -R nginx.nginx /var/log/nginx if [ ! -d $route/nginx-1.20.1 ];then tar xf packages/nginx-1.20.1.tar.gz -C $route fi cd $route/nginx-1.20.1 if [ ! -d $route/nginx ];then ./configure --prefix=/usr/local/nginx \ --user=nginx \ --group=nginx \ --with-debug \ --with-http_ssl_module \ --with-http_realip_module \ --with-http_image_filter_module \ --with-http_gunzip_module \ --with-http_gzip_static_module \ --with-http_stub_status_module \ --http-log-path=/var/log/nginx/access.log \ --error-log-path=/var/log/nginx/error.log make && make install fi cd $server cat > nginx.service << EOF [Unit] Description=Nginx server daemon After=network.target [Service] Type=forking ExecStart=/usr/local/nginx/sbin/nginx ExecStop=/usr/local/nginx/sbin/nginx -s quit ExecReload=/bin/kill -HUP \$MAINPID [Install] WantedBy=multi-user.target EOF echo 'export PATH=/usr/local/nginx/sbin:$PATH' > /etc/profile.d/nginx.sh source /etc/profile.d/nginx.sh systemctl daemon-reload systemctl enable --now nginx.service if [ $? -eq 0 ];then echo "nginx is ok" else echo "nginx is error" fi [root@nginx nginx]# systemctl status nginx.service //查看nginx状态为开启状态 ● nginx.service - Nginx server daemon Loaded: loaded (/usr/lib/systemd/system/nginx.service; enabled; vendor preset: disabled) Active: active (running) since Fri 2022-06-03 12:54:06 CST; 4min 45s ago Process: 33707 ExecStart=/usr/local/nginx/sbin/nginx (code=exited, status=0/SUCCESS) Main PID: 33708 (nginx) Tasks: 2 (limit: 11301) Memory: 2.7M CGroup: /system.slice/nginx.service ├─33708 nginx: master process /usr/local/nginx/sbin/nginx └─33709 nginx: worker process 6月 03 12:54:06 nginx systemd[1]: Starting Nginx server daemon... 6月 03 12:54:06 nginx systemd[1]: Started Nginx server daemon // nginx的访问日志与错误日志的位置 [root@nginx nginx]# pwd /var/log/nginx [root@nginx nginx]# ls access.log error.log // 除访问日志和错误日志外的其他文件位置 [root@nginx nginx]# pwd /usr/local/nginx [root@nginx nginx]# ls client_body_temp conf fastcgi_temp html logs proxy_temp sbin scgi_temp uwsgi_temp 3.2 部署tomcat
// 下载jdk包
jdk下载地址 选择第六个下载
[root@tomcat1 opt]# ls jdk-8u202-linux-x64.tar.gz [root@tomcat1 opt]# tar zxf jdk-8u202-linux-x64.tar.gz -C /usr/local/ //解压到/usr/local目录 //配置jdk环境变量 [root@tomcat1 ~]# cat /etc/profile.d/jdk.sh export JAVA_HOME=/usr/local/jdk1.8.0_202 export CLASSPATH=$JAVA_HOME/lib/tools.jar:$JAVA_HOME/lib/dt.jar export PATH=$JAVA_HOME/bin:$PATH [root@tomcat1 ~]# source /etc/profile.d/jdk.sh //使用source使其生效 [root@tomcat1 ~]# java -version //能看到版本号说明成功 java version "1.8.0_202" Java(TM) SE Runtime Environment (build 1.8.0_202-b08) Java HotSpot(TM) 64-Bit Server VM (build 25.202-b08, mixed mode) // 下载tomcat包 [root@tomcat1 ~]# wget https://archive.apache.org/dist/tomcat/tomcat-9/v9.0.54/bin/apache-tomcat-9.0.54.tar.gz -P /opt/ [root@tomcat1 opt]# tar zxf apache-tomcat-9.0.54.tar.gz -C /usr/local/ [root@tomcat1 local]# ln -s apache-tomcat-9.0.54/ tomcat9 //做个软链接方便后续的操作 3.2.1 编写service文件使用systemctl控制tomcat
在我写完service启动tomcat时报错了,报错内容如下 6月 03 16:49:10 tomcat1 catalina.sh[2629]: Neither the JAVA_HOME nor the JRE_HOME environment variable is defined //这个的意思时说没有JAVA_HOME和JRE_HOME这两个变量 6月 03 16:49:10 tomcat1 catalina.sh[2629]: At least one of these environment variable is needed to run this program //这个的意思时说运行tomcat需要有这两个变量中的一个即可 // 解决措施如下 [root@tomcat1 bin]# pwd /usr/local/tomcat9/bin //这个是tomcat的安装目录 [root@tomcat1 bin]# vim setclasspath.sh # Set JAVA_HOME or JRE_HOME if not already set, ensure any provided settings # are valid and consistent with the selected start-up options and set up the # endorsed directory. # ----------------------------------------------------------------------------- // 添加下面两行内容,这个是你的jdk的安装目录,根据自己的安装目录进行变化 export JAVA_HOME=/usr/local/jdk1.8.0_202 export JRE_HOME=/usr/local/jdk1.8.0_202/jre 这里建议,添加完环境变量后使用此命令[root@tomcat1 bin]# source setclasspath.sh重新读取一下
// 这个是service文件 [root@tomcat1 bin]# cat /usr/lib/systemd/system/tomcat.service [Unit] Description=Tomcat server daemon After=network.target sshd-keygen.target [Service] Type=forking ExecStart=/usr/local/tomcat9/bin/catalina.sh start ExecStop=/usr/local/tomcat9/bin/catalina.sh stop ExecReload=/bin/kill -HUP $MAINPID [Install] WantedBy=multi-user.target // 使用下面的命令刷新一下配置信息 [root@tomcat1 bin]# systemctl daemon-reload [root@tomcat1 bin]# systemctl enable tomcat //设置开机自启 [root@tomcat1 bin]# systemctl status tomcat.service //启动成功 ● tomcat.service - Tomcat server daemon Loaded: loaded (/usr/lib/systemd/system/tomcat.service; enabled; vendor preset: disabled) Active: active (running) since Fri 2022-06-03 16:59:57 CST; 12min ago Process: 2813 ExecStart=/usr/local/tomcat9/bin/catalina.sh start (code=exited, status=0/SUCCESS) Main PID: 2819 (java) Tasks: 19 (limit: 11301) Memory: 101.0M 3.3 tomcat2的机器也做同样的操作
上面有下载jdk的地址这里就不写了
// 配置jdk的环境变量 [root@tomcat2 local]# cat /etc/profile.d/jdk.sh export JAVA_HOME=/usr/local/jdk1.8.0_202 export CLASSPATH=$JAVA_HOME/lib/tools.jar:$JAVA_HOME/lib/dt.jar export PATH=$JAVA_HOME/bin:$PATH // 重新加载一下使其生效 [root@tomcat2 local]# source /etc/profile.d/jdk.sh // 看到版本号说明成功 [root@tomcat2 local]# java -version java version "1.8.0_202" Java(TM) SE Runtime Environment (build 1.8.0_202-b08) Java HotSpot(TM) 64-Bit Server VM (build 25.202-b08, mixed mode) // 下载tomcat包 [root@tomcat2 ~]# wget https://archive.apache.org/dist/tomcat/tomcat-9/v9.0.54/bin/apache-tomcat-9.0.54.tar.gz -P /opt/ // 解压tomcat包 [root@tomcat2 opt]# tar zxf apache-tomcat-9.0.54.tar.gz -C /usr/local/ // 做软连接,方便后面操作 [root@tomcat2 local]# ln -s apache-tomcat-9.0.54/ tomcat9 // 添加环境变量 [root@tomcat2 bin]# vim setclasspath.sh # Set JAVA_HOME or JRE_HOME if not already set, ensure any provided settings # are valid and consistent with the selected start-up options and set up the # endorsed directory. # ----------------------------------------------------------------------------- export JAVA_HOME=/usr/local/jdk1.8.0_202 export JRE_HOME=/usr/local/jdk1.8.0_202/jre // 编写service文件控制tomcat [root@tomcat2 tomcat9]# cat /usr/lib/systemd/system/tomcat.service [Unit] Description=Tomcat server daemon After=network.target sshd-keygen.target [Service] Type=forking ExecStart=/usr/local/tomcat9/bin/catalina.sh start ExecStop=/usr/local/tomcat9/bin/catalina.sh stop ExecReload=/bin/kill -HUP $MAINPID [Install] WantedBy=multi-user.target // 需要说明一下 执行完没问题之后请执行 source /etc/profile.d/nginx.sh //这样便可以使用nginx命令了 然后再执行下面两条命令 [root@tomcat2 bin]# systemctl daemon-reload [root@tomcat2 bin]# systemctl enable tomcat 3.4 Tomcat相关配置说明
// tomcat主目录 [root@tomcat2 tomcat9]# pwd /usr/local/tomcat9 [root@tomcat2 tomcat9]# ll 总用量 128 drwxr-x--- 2 root root 4096 6月 3 17:50 bin -rw-r----- 1 root root 18970 9月 28 2021 BUILDING.txt drwx------ 3 root root 254 6月 3 17:49 conf -rw-r----- 1 root root 6210 9月 28 2021 CONTRIBUTING.md drwxr-x--- 2 root root 4096 6月 3 17:38 lib -rw-r----- 1 root root 57092 9月 28 2021 LICENSE drwxr-x--- 2 root root 197 6月 3 17:49 logs -rw-r----- 1 root root 2333 9月 28 2021 NOTICE -rw-r----- 1 root root 3372 9月 28 2021 README.md -rw-r----- 1 root root 6898 9月 28 2021 RELEASE-NOTES -rw-r----- 1 root root 16507 9月 28 2021 RUNNING.txt drwxr-x--- 2 root root 30 6月 3 17:38 temp drwxr-x--- 7 root root 81 9月 28 2021 webapps drwxr-x--- 3 root root 22 6月 3 17:49 work | 目录 | 作用 |
|---|---|
| bin | 存放linux或windows平台上启动和关闭tomca的脚本文件 |
| conf | 存放tomcat服务器的各种全局配置文件,其中最重要的是server.xml和web.xml |
| lib | 存放tomcat运行时所需要的库文件(JARS) |
| logs | 存放tomcat执行时的LOG文件 |
| webapps | tomcat的主要web发布目录(包括应用程序示例) |
| work | 存放jsp编译后产生的class文件 |
| temp | 用来存放Tomcat执行过程中产生的临时文件。清除此文件不会影响Tomcat服务器。 |
3.5 tomcat配置文件说明
[root@tomcat2 conf]# ll 总用量 232 drwxr-x--- 3 root root 23 6月 3 17:49 Catalina -rw------- 1 root root 13052 9月 28 2021 catalina.policy -rw------- 1 root root 7276 9月 28 2021 catalina.properties -rw------- 1 root root 1400 9月 28 2021 context.xml -rw------- 1 root root 1149 9月 28 2021 jaspic-providers.xml -rw------- 1 root root 2313 9月 28 2021 jaspic-providers.xsd -rw------- 1 root root 4144 9月 28 2021 logging.properties -rw------- 1 root root 7589 9月 28 2021 server.xml -rw------- 1 root root 2756 9月 28 2021 tomcat-users.xml -rw------- 1 root root 2558 9月 28 2021 tomcat-users.xsd -rw------- 1 root root 172359 9月 28 2021 web.xm | 目录或文件 | 作用 |
|---|---|
| catalina.policy | 权限控制配置文件 |
| catalina.properties | tomcat属性配置文件 |
| context.xml | 上下文配置文件 |
| logging.properties | 日志log相关配置文件 |
| server.xml | 主配置文件 |
| tomcat-users.xml | manager-gui管理用户配置文件(tomcat安装后提供一个manager-gui的管理界面,通过配置该文件可以开启访问) |
| web.xml | tomcat的servlet、servlet-mapping、filter、MIME等相关配置 |
3.6 tomcat主配置文件说明
server.xml为tomcat的主配置文件,通过配置该文件,可以修改tomcat的启动端口、网站目录、虚拟主机、开启https等常用功能。
server.xml主要由 <Server>、<Service>、<Connector/>、<Engine>、<Host>、<Context>、</Context>、</Host>、</Engine>、</service>、</Server>
<Server port="8005" shutdown="SHUTDOWN"> // tomcat关闭端口,默认只对本机地址开放,可以在本机通过telnet 127.0.0.1 8005的方式进行访问 69 <Connector port="8080" protocol="HTTP/1.1" 70 connectionTimeout="20000" 71 redirectPort="8443" /> // tomcat启动的默认端口号8080,可以根据需要进行修改 115 <!-- Define an AJP 1.3 Connector on port 8009 --> 116 <!-- 117 <Connector protocol="AJP/1.3" 118 address="::1" 119 port="8009" 120 redirectPort="8443" /> // tomcat启动AJP1.3连接器时默认的端口号,可以根据需要进行更改 152 <Host name="localhost" appBase="webapps" 153 unpackWARs="true" autoDeploy="true"> 155 <!-- SingleSignOn valve, share authentication between web applications 156 Documentation at: /docs/config/valve.html --> 157 <!-- 158 <Valve className="org.apache.catalina.authenticator.SingleSignOn" /> 159 --> 160 161 <!-- Access log processes all example. 162 Documentation at: /docs/config/valve.html 163 Note: The pattern used is equivalent to using pattern="common" --> 164 <Valve className="org.apache.catalina.valves.AccessLogValve" directory="logs" 165 prefix="localhost_access_log" suffix=".txt" 166 pattern="%h %l %u %t "%r" %s %b" /> 167 168 </Host> 169 </Engine> 170 </Service> 171 </Server> // 以上内容为tomcat定义虚拟主机时的配置及日志配置 3.7 tomcat server的组成部分
server: server元素代表了整个Catalina的servlet容器 service: service是这样一个集合,它是由一个或者多个connector组成,以及一个engine,负责处理所有connector所获得的客户请求。 connector: 一个connector在某个指定的端口上侦听客户端请求,并将获得的请求交给engine来处理,从engine处获得回应并返回客户。 tomcat有两个典型的connector,一个直接侦听来自browser的http请求,一个监听来自其他的webserver的请求。 coyote http/1.1 connector在端口8080处监听来自browser的http请求。 coyote JK2 connector在端口8009处监听来自其他webserver(apache)的servlet/jsp代理请求 engine: engine可以配置多个虚拟主机(virtual host),每个虚拟主机都有一个域名,当engine获得一个请求时,他把该请求匹配到某个host上,然后把该请求交给该host来处理 engine有一个默认虚拟主机,当请求无法匹配带任何一个host上的时候,将交给该默认host处理 host: 一个host代表一个虚拟主机,每个虚拟主机和某个网络域名相匹配。 每个虚拟主机下都可以部署(deploy)一个或者多个web app,每个web app对应一个context,有一个context patj。 当host获得一个请求时,将把该请求匹配到某个context上,然后把该请求交给该context来处理,匹配的方法是"最长匹配",所以一个path==" "的context将成为该host的默认context 所有无法和其他context的路径名匹配的请求都将最终和该默认context匹配 context: 一个context对应一个web application,一个web application由一个或者多个servlet组成。 下面开始配置
// 为了区分做以下修改 [root@tomcat1 ~]# cat index.jsp <html> <head> <title>test page</title> </head> <body> <% out.println("this is a tomcat1"); %> </body> </html> [root@tomcat1 ~]# mkdir /web [root@tomcat1 ~]# mv index.jsp /web/ [root@tomcat1 ~]# systemctl restart tomcat.service 通过IP加端口号进行访问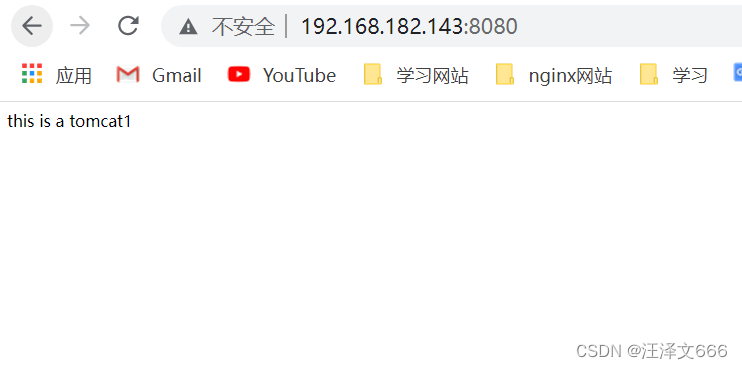
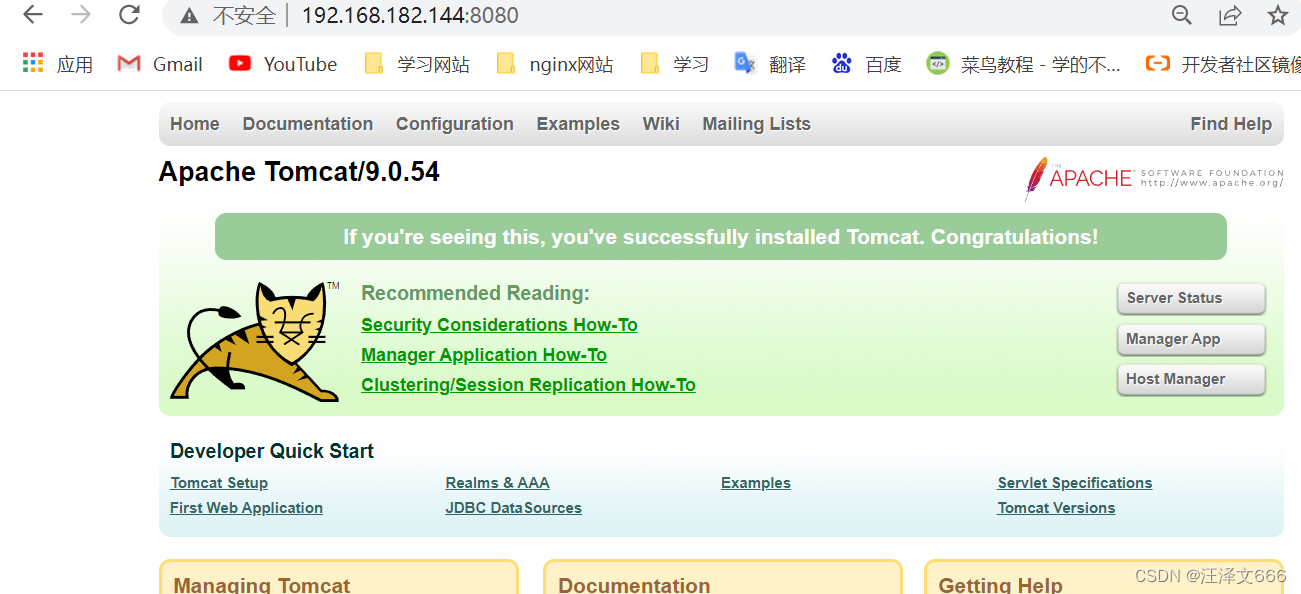
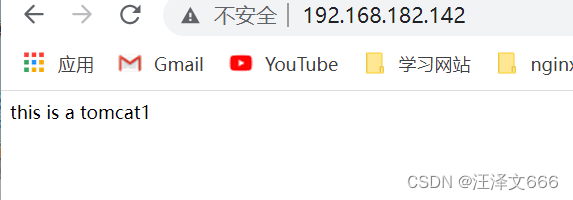
// 在nginx上配置负载均衡
33 #gzip on; 34 upstream tomcat-server { 35 server 192.168.182.143:8080; 36 server 192.168.182.144:8080; 37 } 47 location / { 48 root html; 49 index index.html index.htm; 50 proxy-pass http://tomcat_server; 51 } // 配置完成之后,建议使用nginx -t检查语法错误 没有问题之后可以使用nginx -s reload //重新加载配置文件 也可以使用systemctl restart nginx.service //重启nginx服务 测试,输入nginx主机的IP地址,通过不断刷新页面进行跳转。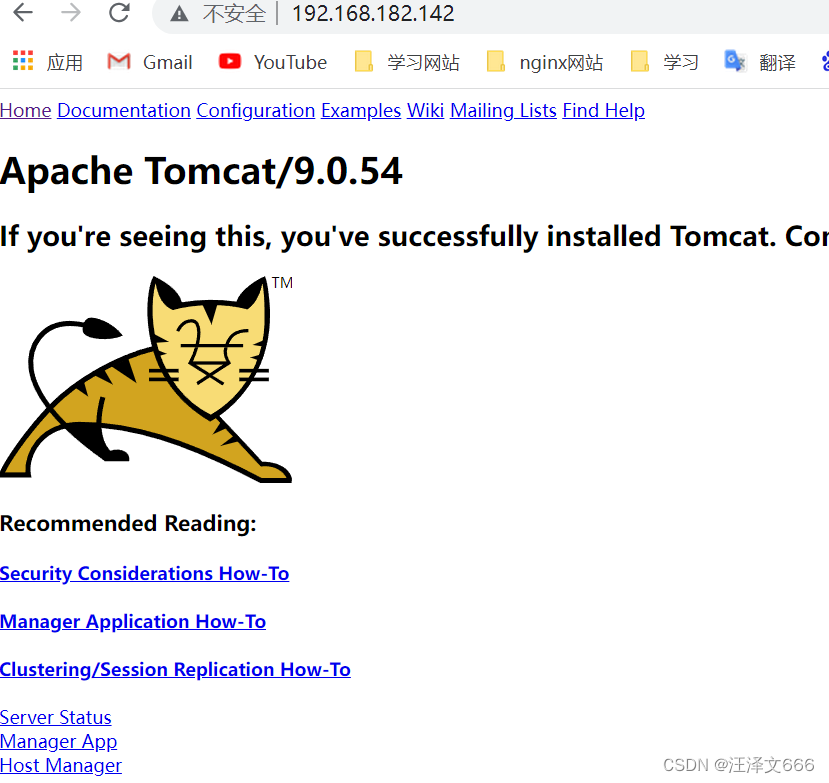
热门文章
- vue-cli环境安装node-sass问题
- 上海地区宠物领养平台 上海地区宠物领养平台有哪些
- 昆明免费领养狗狗的地方在哪里(昆明哪里可以免费领养狗狗)
- 开宠物店有什么机会吗(开宠物店有什么机会吗知乎)
- 「3月4日」最高速度21.7M/S,2025年NekoRay每天更新免费节点订阅链接
- 「1月30日」最高速度19M/S,2025年NekoRay每天更新免费节点订阅链接
- 领养宠物协议书在法律上属于什么合同 领养宠物协议书在法律上属于什么合同
- python向hive中写入数据
- 机器制作狗粮的配方大全图片(机器制作狗粮的配方大全图片高清)
- 「1月21日」最高速度22.2M/S,2025年NekoRay每天更新免费节点订阅链接